Single sign-on (SSO)
Connect a team to an OpenID Connect (OIDC) identity provider. SAML-based SSO is not supported. Provider policy applies at sign-in; OpsPing then manages its own access and refresh sessions, so offboarding must also block or revoke the OpsPing account.
- An OpsPing admin account and an existing team. OIDC configuration belongs to that team.
- An OIDC app supporting authorization code with PKCE,
client_secret_basic, RS256 ID tokens, and an email claim. Register<backend-base-url>/v2/auth/sso/callbackas the exact callback URI.
-
Open the SSO settings
Open Settings → Single Sign-On (OIDC) and select the team offered by the form. If no team exists, create one first. The team name lowercased is the slug users enter at sign-in.

OIDC is configured per team. Save the issuer and client credentials, then test the actual sign-in flow. -
Enter your provider details and save
Enter the issuer URL, client ID, and client secret, then select Save. Saving stores the values; provider discovery and token exchange are validated when an SSO sign-in starts.
Callback URLAsk your deployment administrator for the public backend base URL. Do not assume the browser console origin is the callback host.
-
Sign in with SSO
The sign-in page always includes an SSO section. Enter the configured team's lowercased name, then select Sign in with SSO. An unconfigured team returns an error.
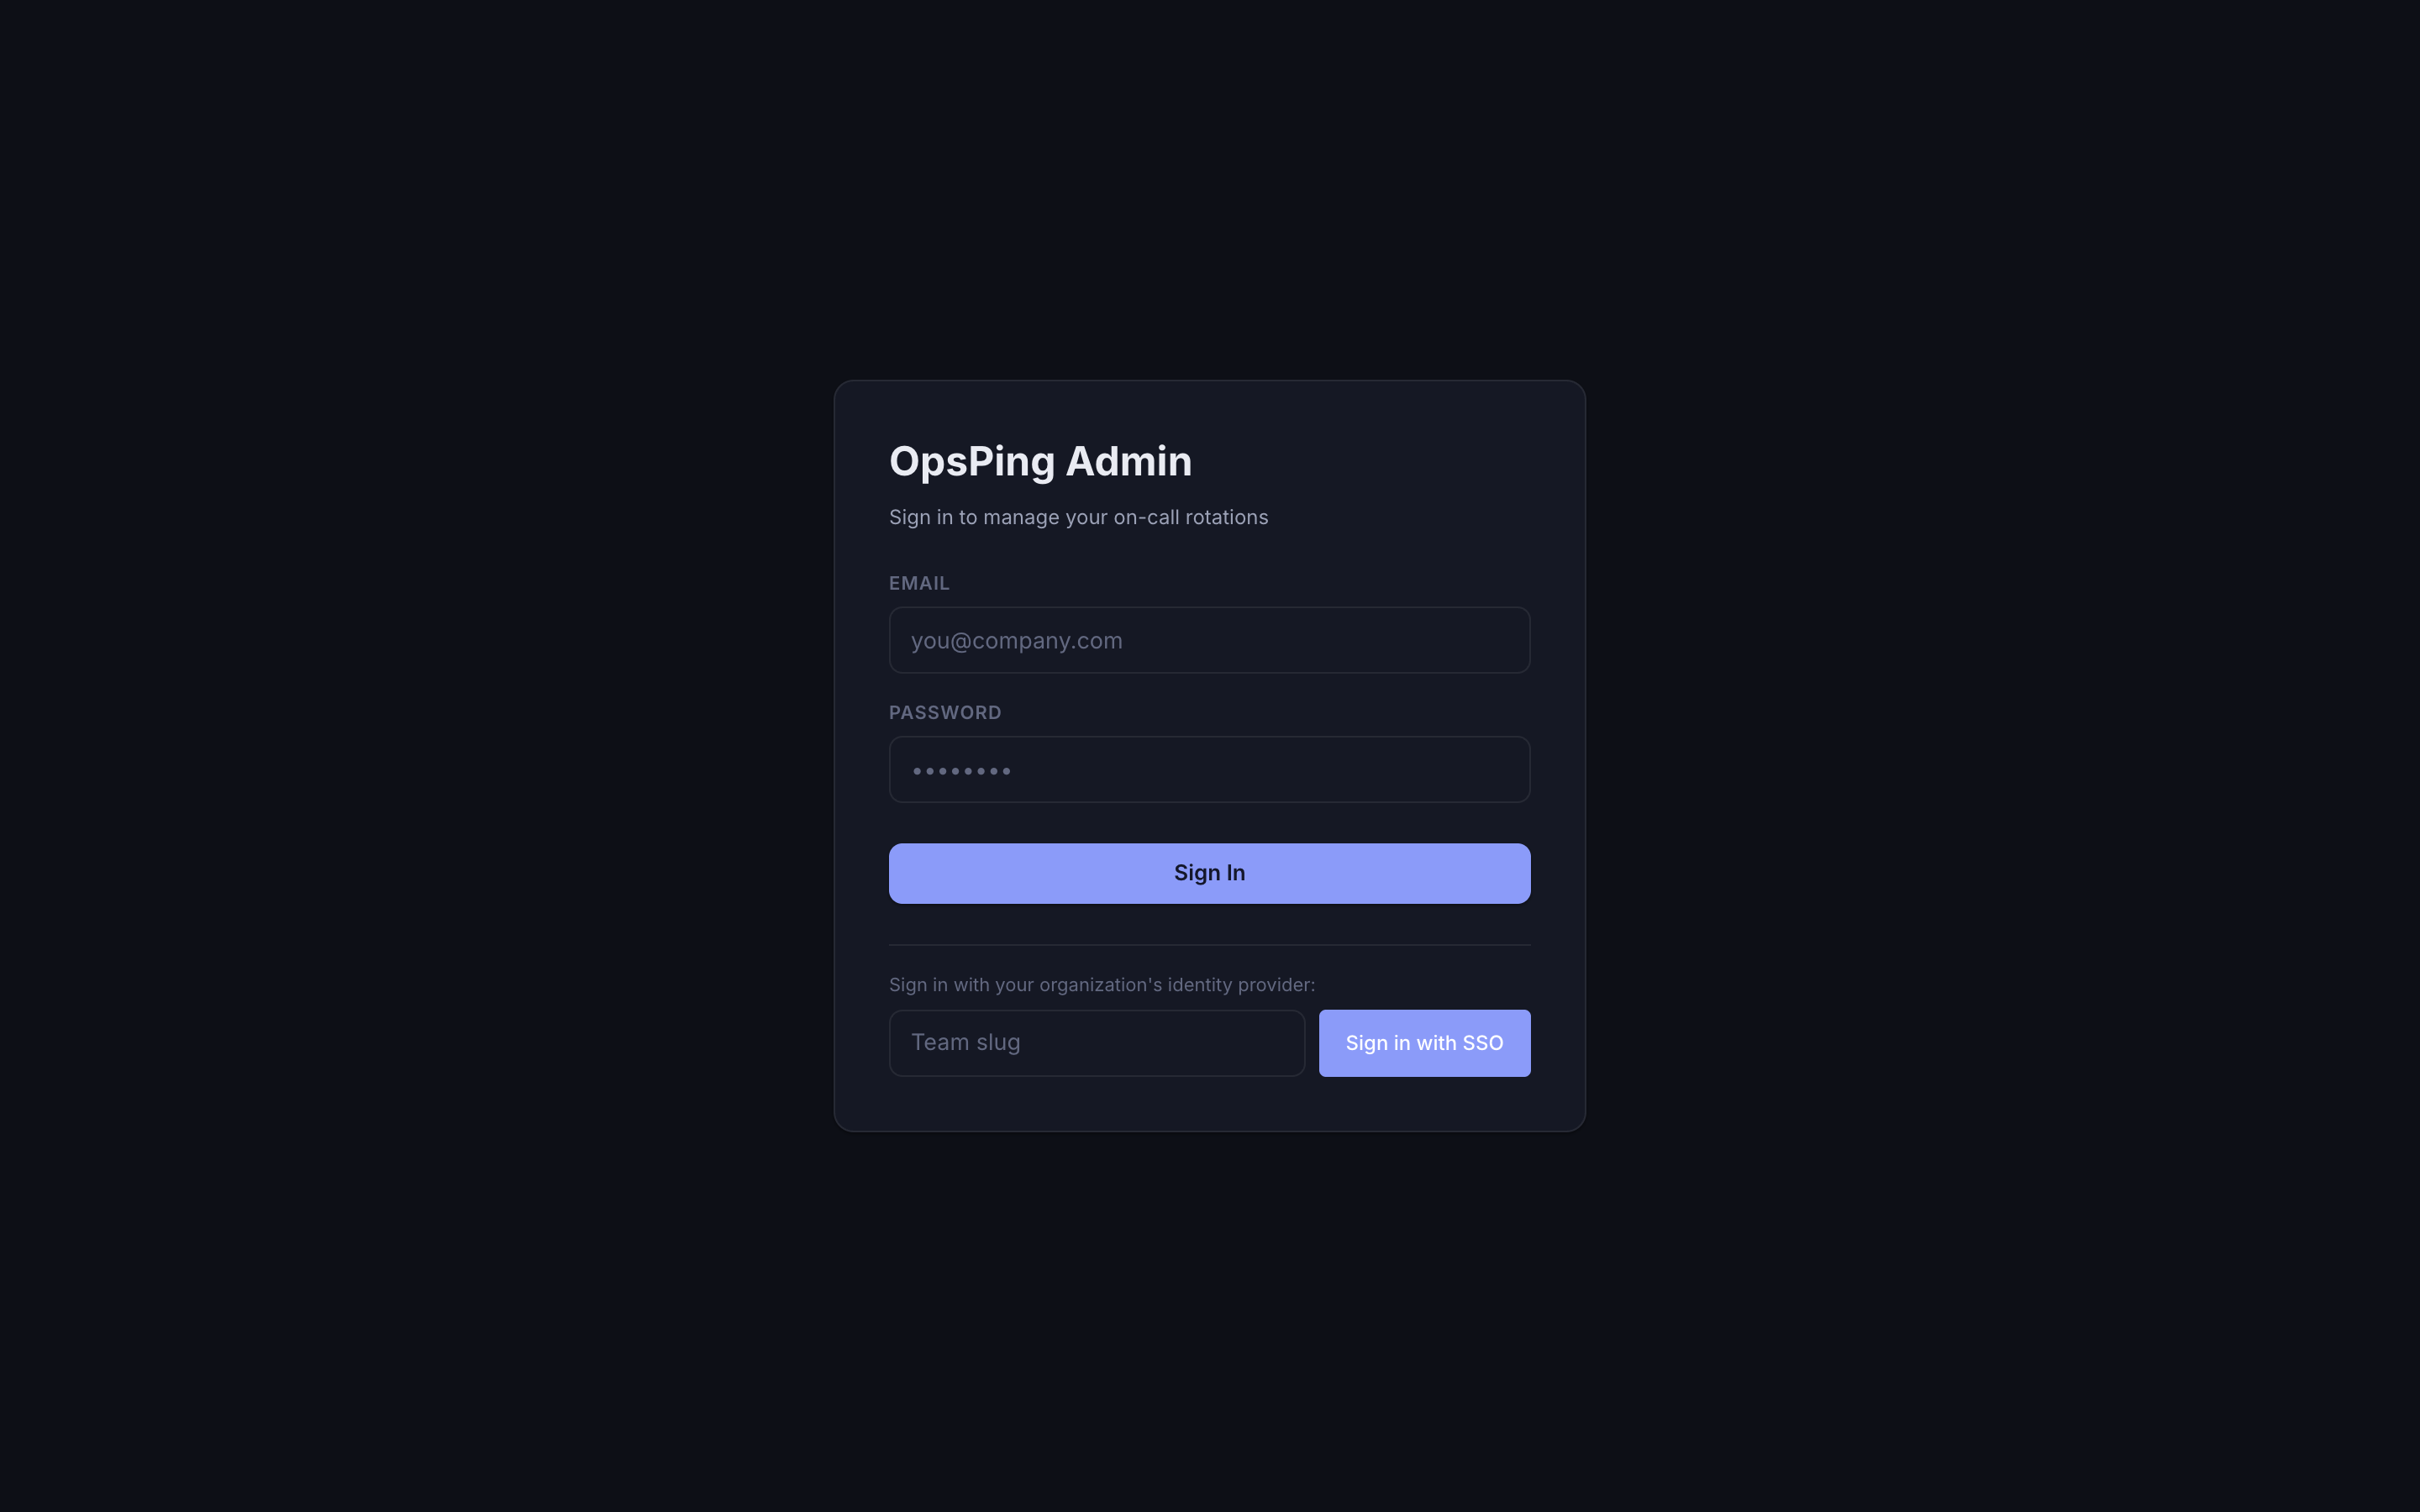
Enter the team slug before starting the provider redirect. Password accountsExisting local-password accounts can still use password sign-in. Accounts created by SSO do not automatically get a local password. OpsPing currently has no SSO-only enforcement toggle.