Alert Triage
Triage is the loop you run when the queue fills up: find what matters, acknowledge what you're taking, follow recurring failures back to prior occurrences, snooze or close the noise, and escalate what you can't handle. The lifecycle is shared across the admin console and mobile app, while each surface uses controls suited to its device.
- Alerts flowing in — at minimum the test alert from Getting started.
- Signed in to the admin console, and/or the mobile app configured per Mobile setup.
-
Cut the complete queue down to what matters
The Alerts page reads the complete server-side queue, not just the first loaded screen. Start with Active, Unassigned, or Mine, then narrow by status, priority, integration, and search text. The status chips show exact counts for the current ownership, source, priority, and search scope; use the cursor controls to continue through every match.
Choose Save view to give the current combination a name. Saved team views appear in the header for everyone on the team. The Live indicator confirms the event stream is healthy; polling continues as a fallback if it reconnects. Arrivals is optional and adds one sound and browser notification for each newly created alert, never for ordinary updates or alerts already present when the page opens.
TipUse Unassigned + Open + P1 as a handoff view, save it for the team, and work that queue to zero before lower priorities.
-
Act on many alerts at once
Tick the checkbox on any row and the bulk action bar appears at the top of the list. Select as many alerts as you need — every action in the bar applies to all of them.
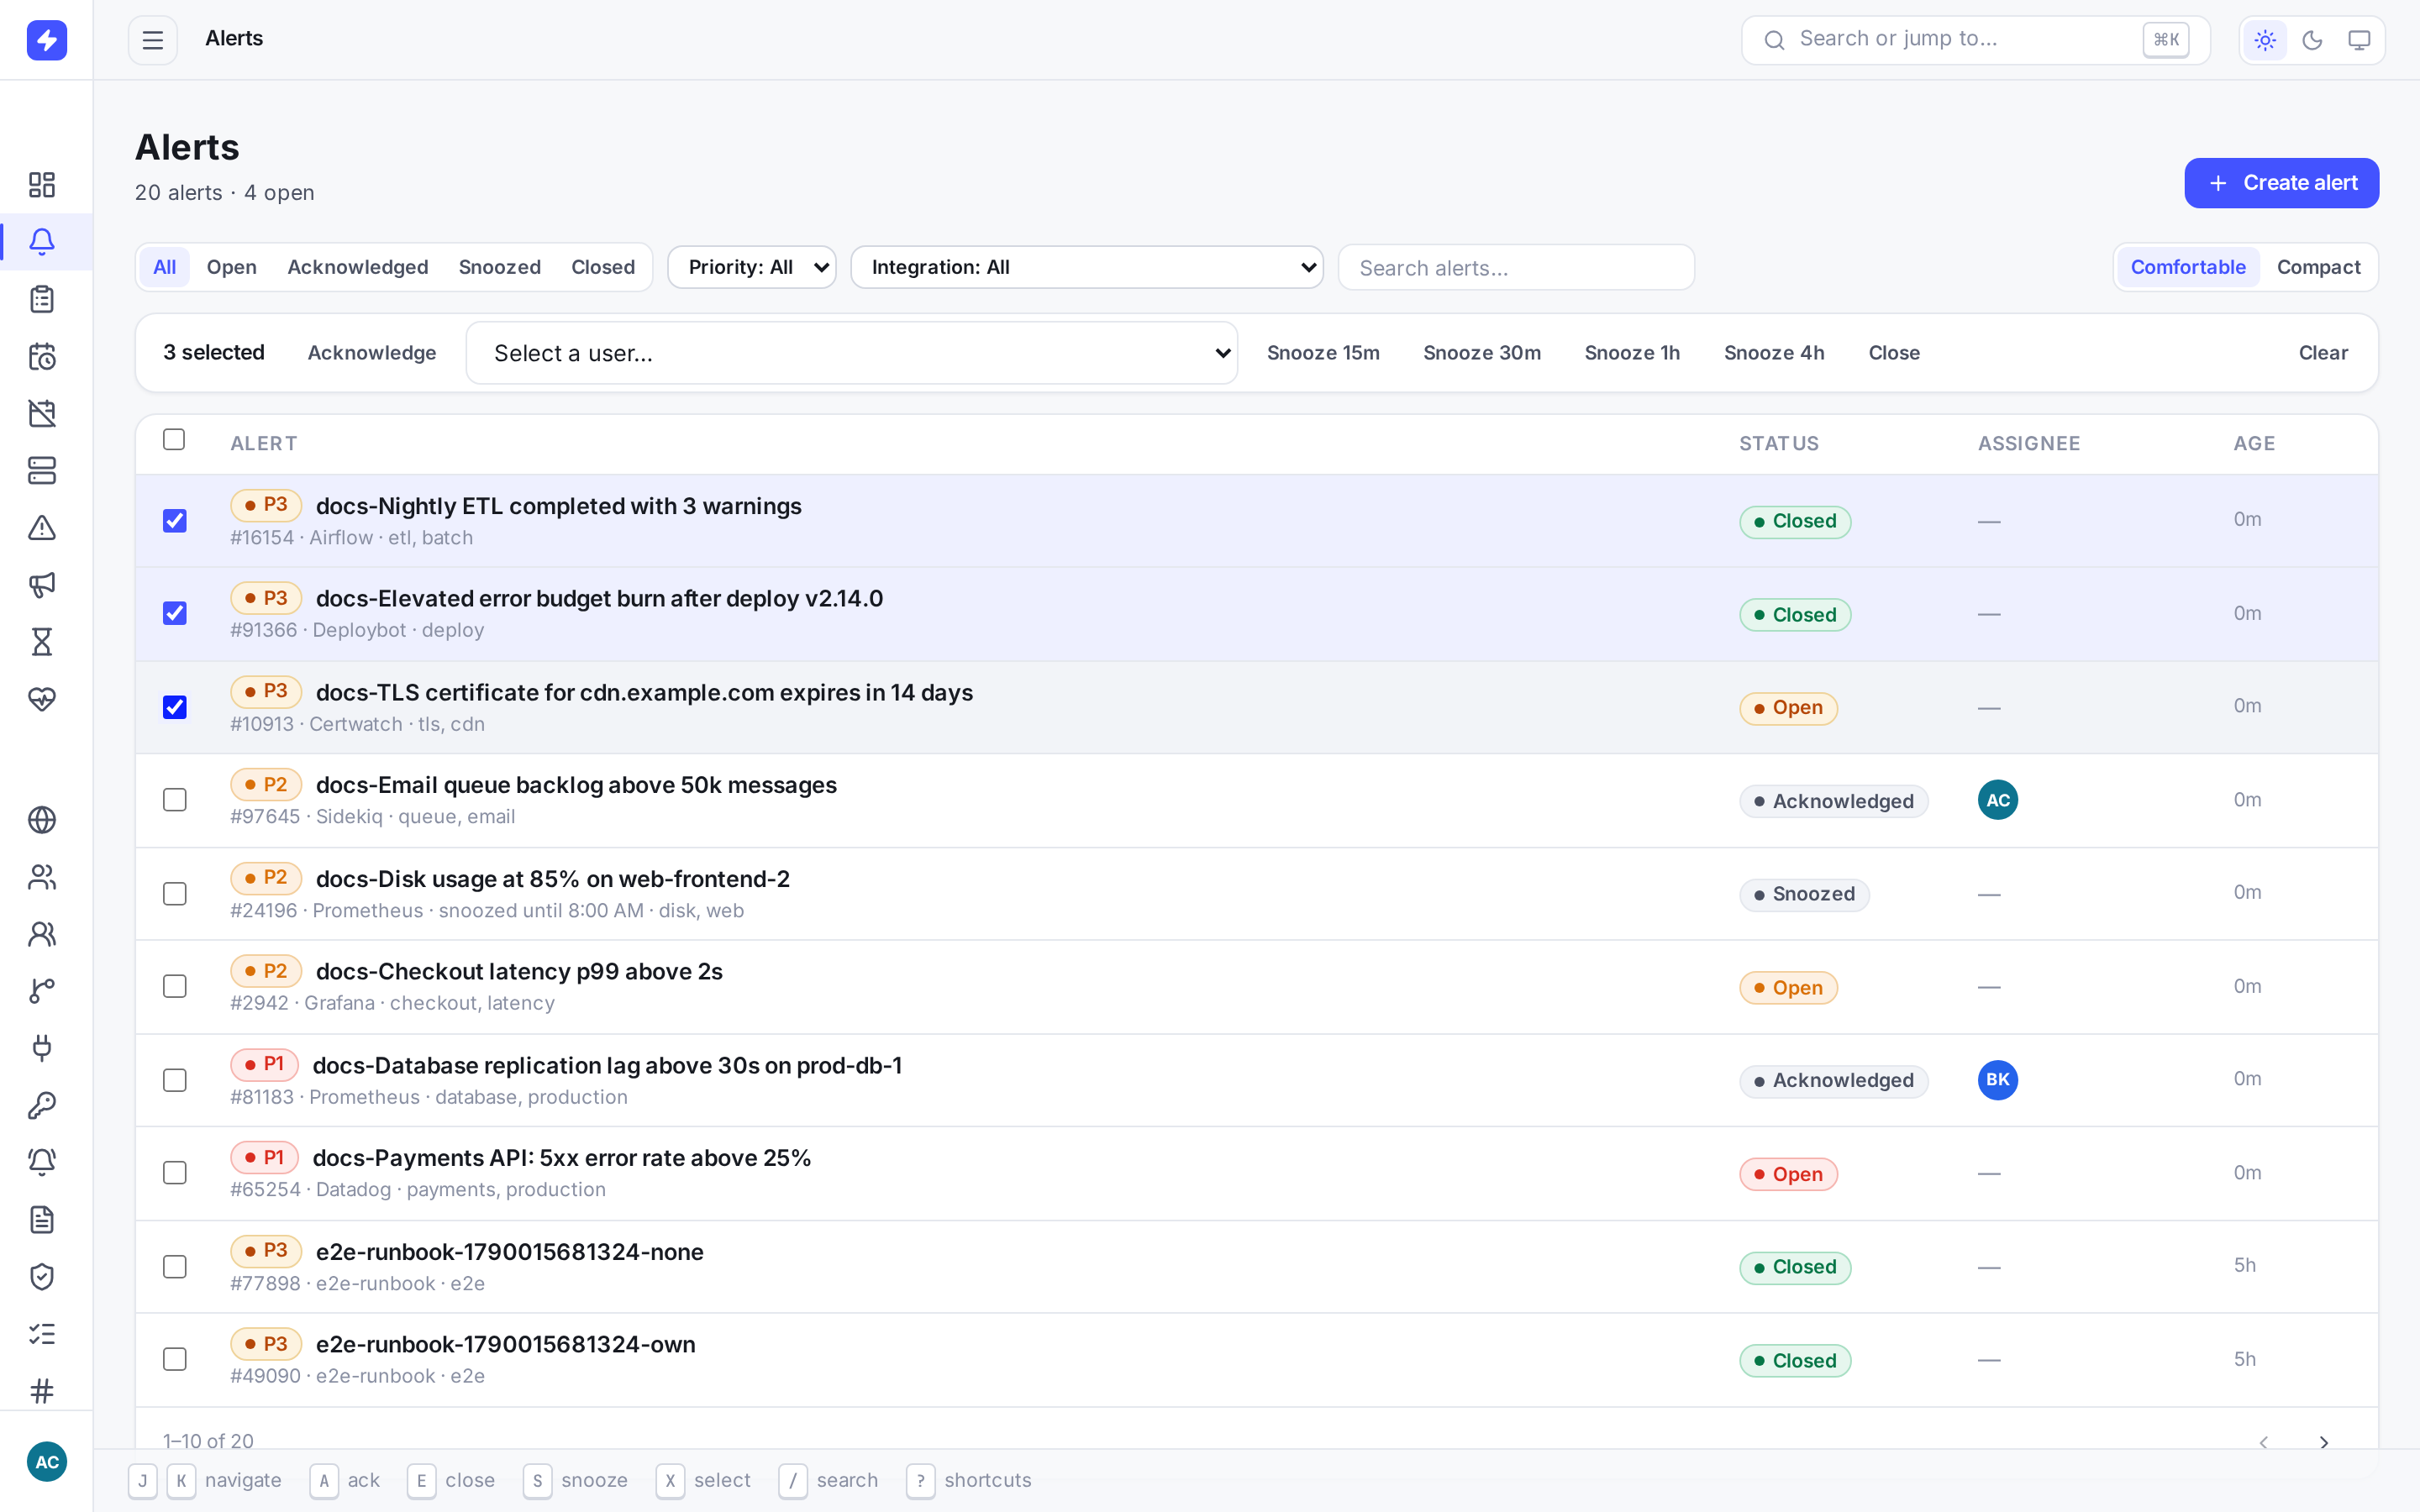
Selecting alerts with the row checkboxes reveals the bulk action bar: acknowledge, close, snooze presets, and assign-to-user. The bar offers four actions: acknowledge, close, snooze (presets from 15 minutes to 4 hours), and assign to a user. Bulk ack is the standard "I've seen the flood, I'm on it" move; bulk close is for clearing noise after the root cause is fixed.
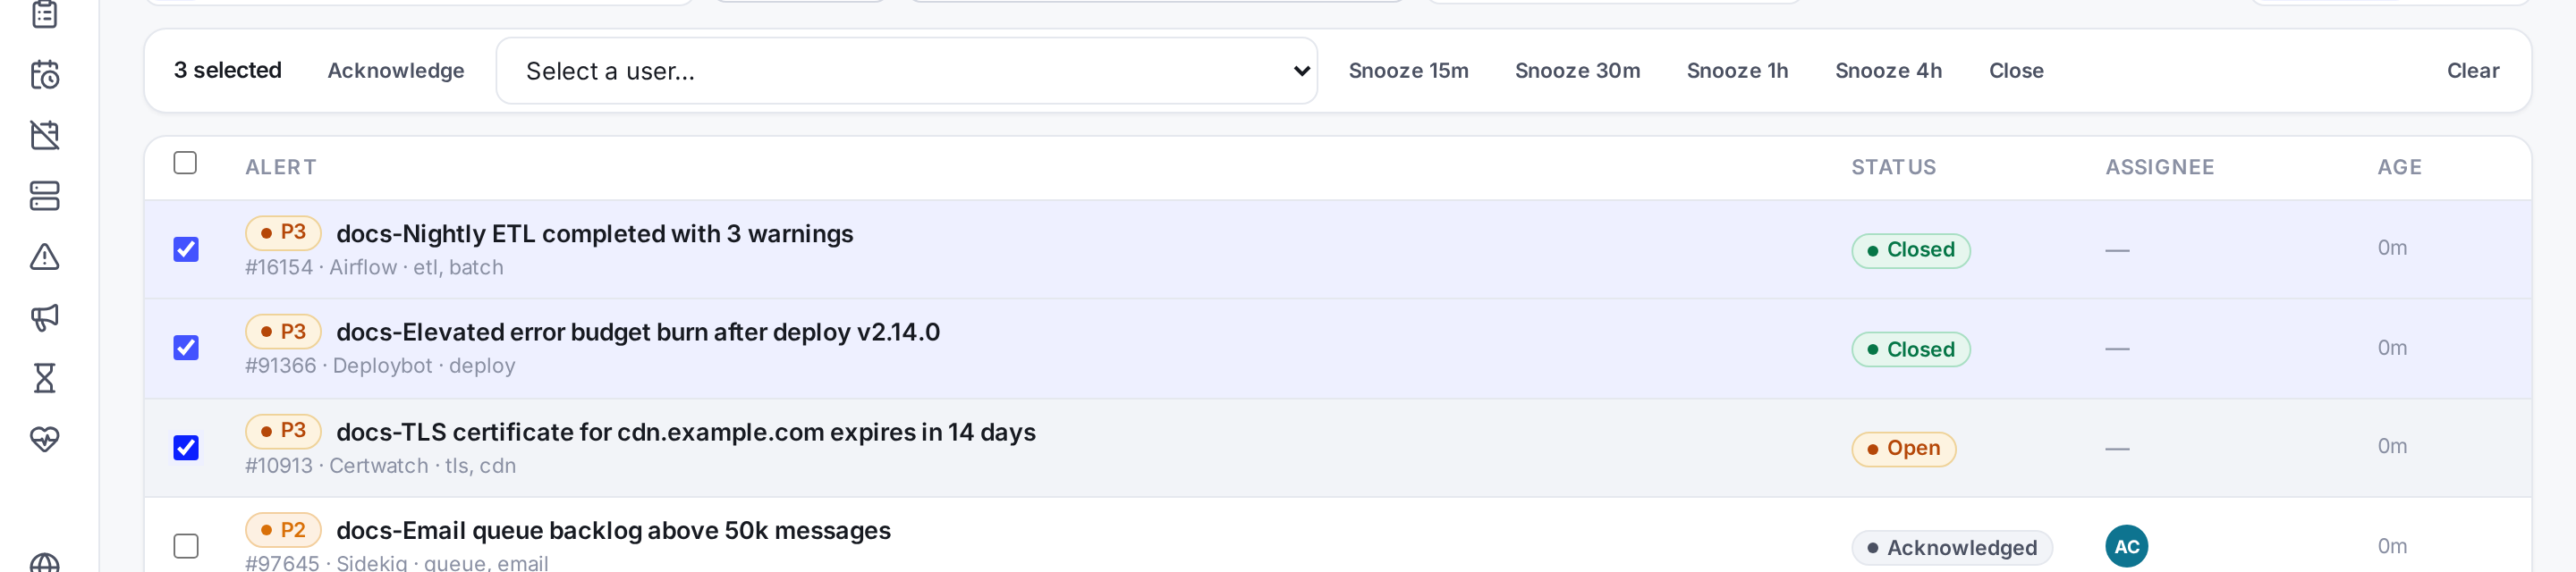
The bulk action bar close-up: snooze presets (15m to 4h) and the assign picker apply to every selected alert at once. -
Work a single alert through its lifecycle
Click any alert to open its detail page. This is where real triage happens: severity banner, full description, metadata, the action bar, and the activity timeline that records everything anyone does to the alert.
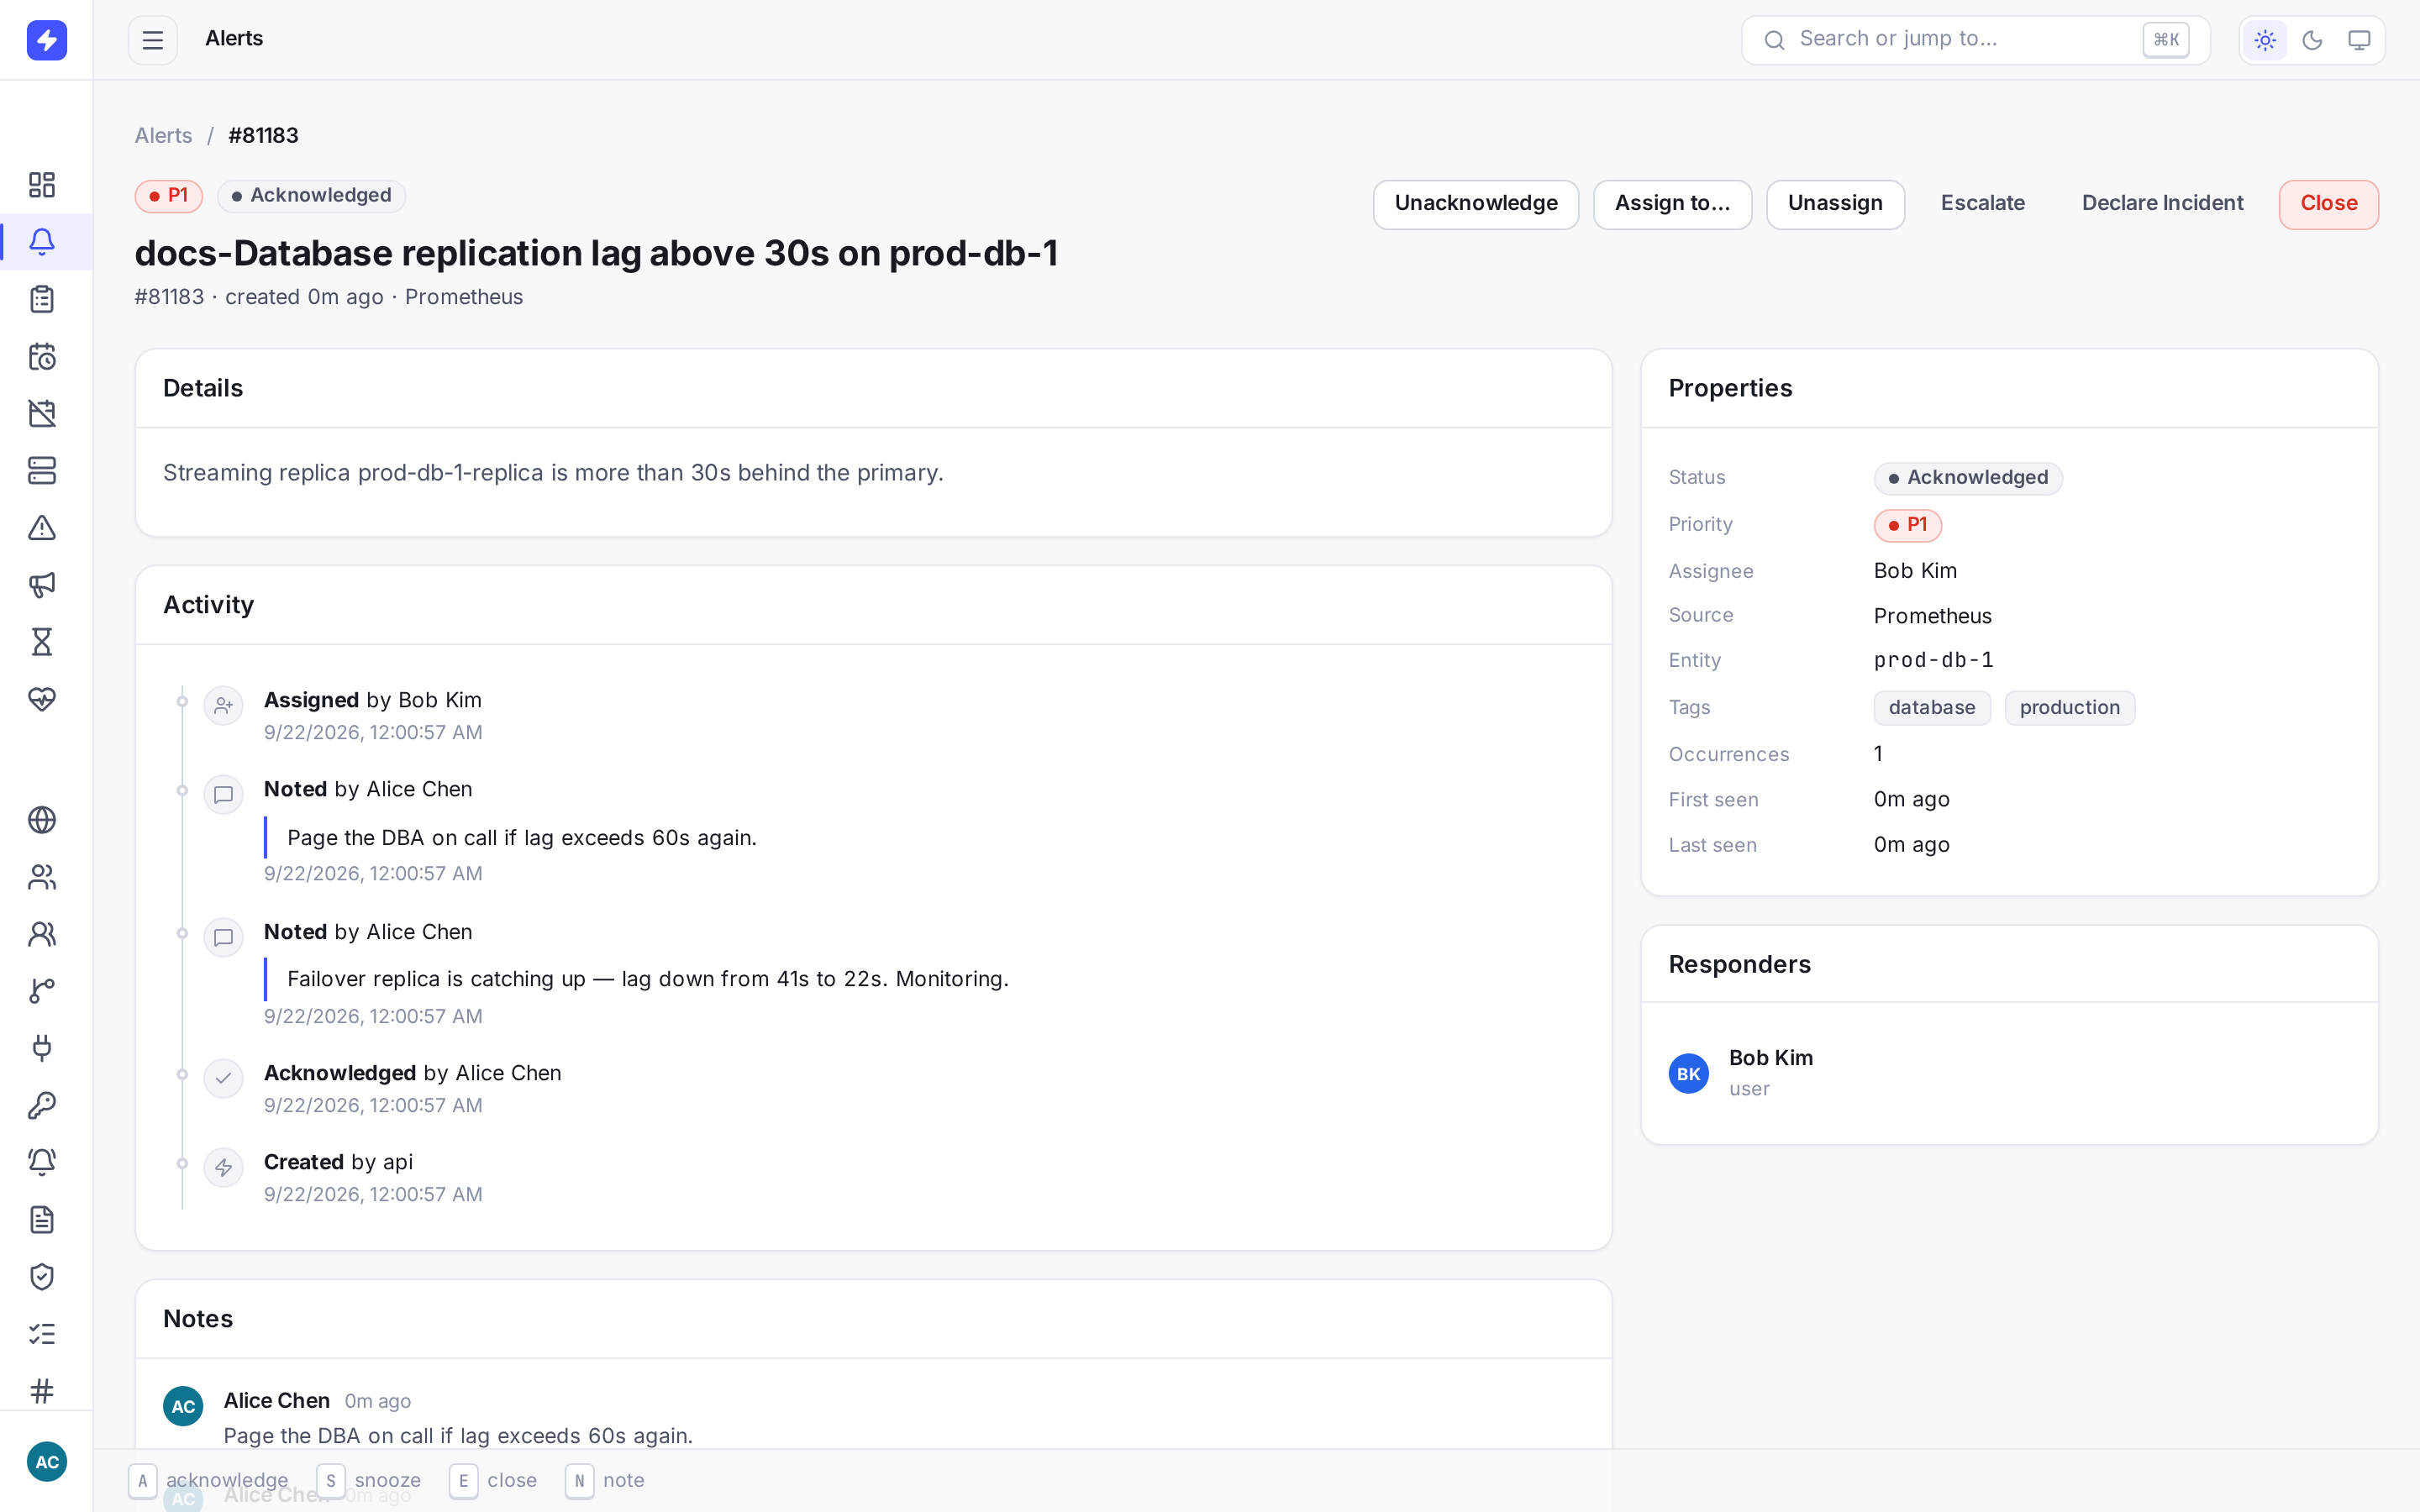
Alert detail for a P1 alert: severity banner, description, metadata, and the activity timeline with operator notes. The action bar offers acknowledge, snooze, take ownership, escalate, declare incident, and close. The lifecycle, in the order you'll usually run it:
- Acknowledge — stops escalation and tells the team someone owns it. Ack is a statement, not a fix.
- Note — add context for the next person: what you checked, what you suspect, links to dashboards. Notes land in the timeline.
- Assign — hand the alert to a specific user when it's theirs to fix. They get notified.
- Snooze — in the console, silence an open alert for a preset window (15m, 30m, 1h, 4h). It reopens automatically when the window ends. Once acknowledged, the console action bar shows Unacknowledge instead.
- Close — resolved or not actionable. Closed alerts stay searchable in the list.
When the response needs tracked engineering work, choose Create Jira Issue. Select an enabled Jira Cloud integration, review the alert-derived summary and description, then create the issue. OpsPing stores the Jira key, link, status, operator, and timestamps on the alert. The same ticket remains visible on later occurrences in the recurrence chain, with its source occurrence identified.
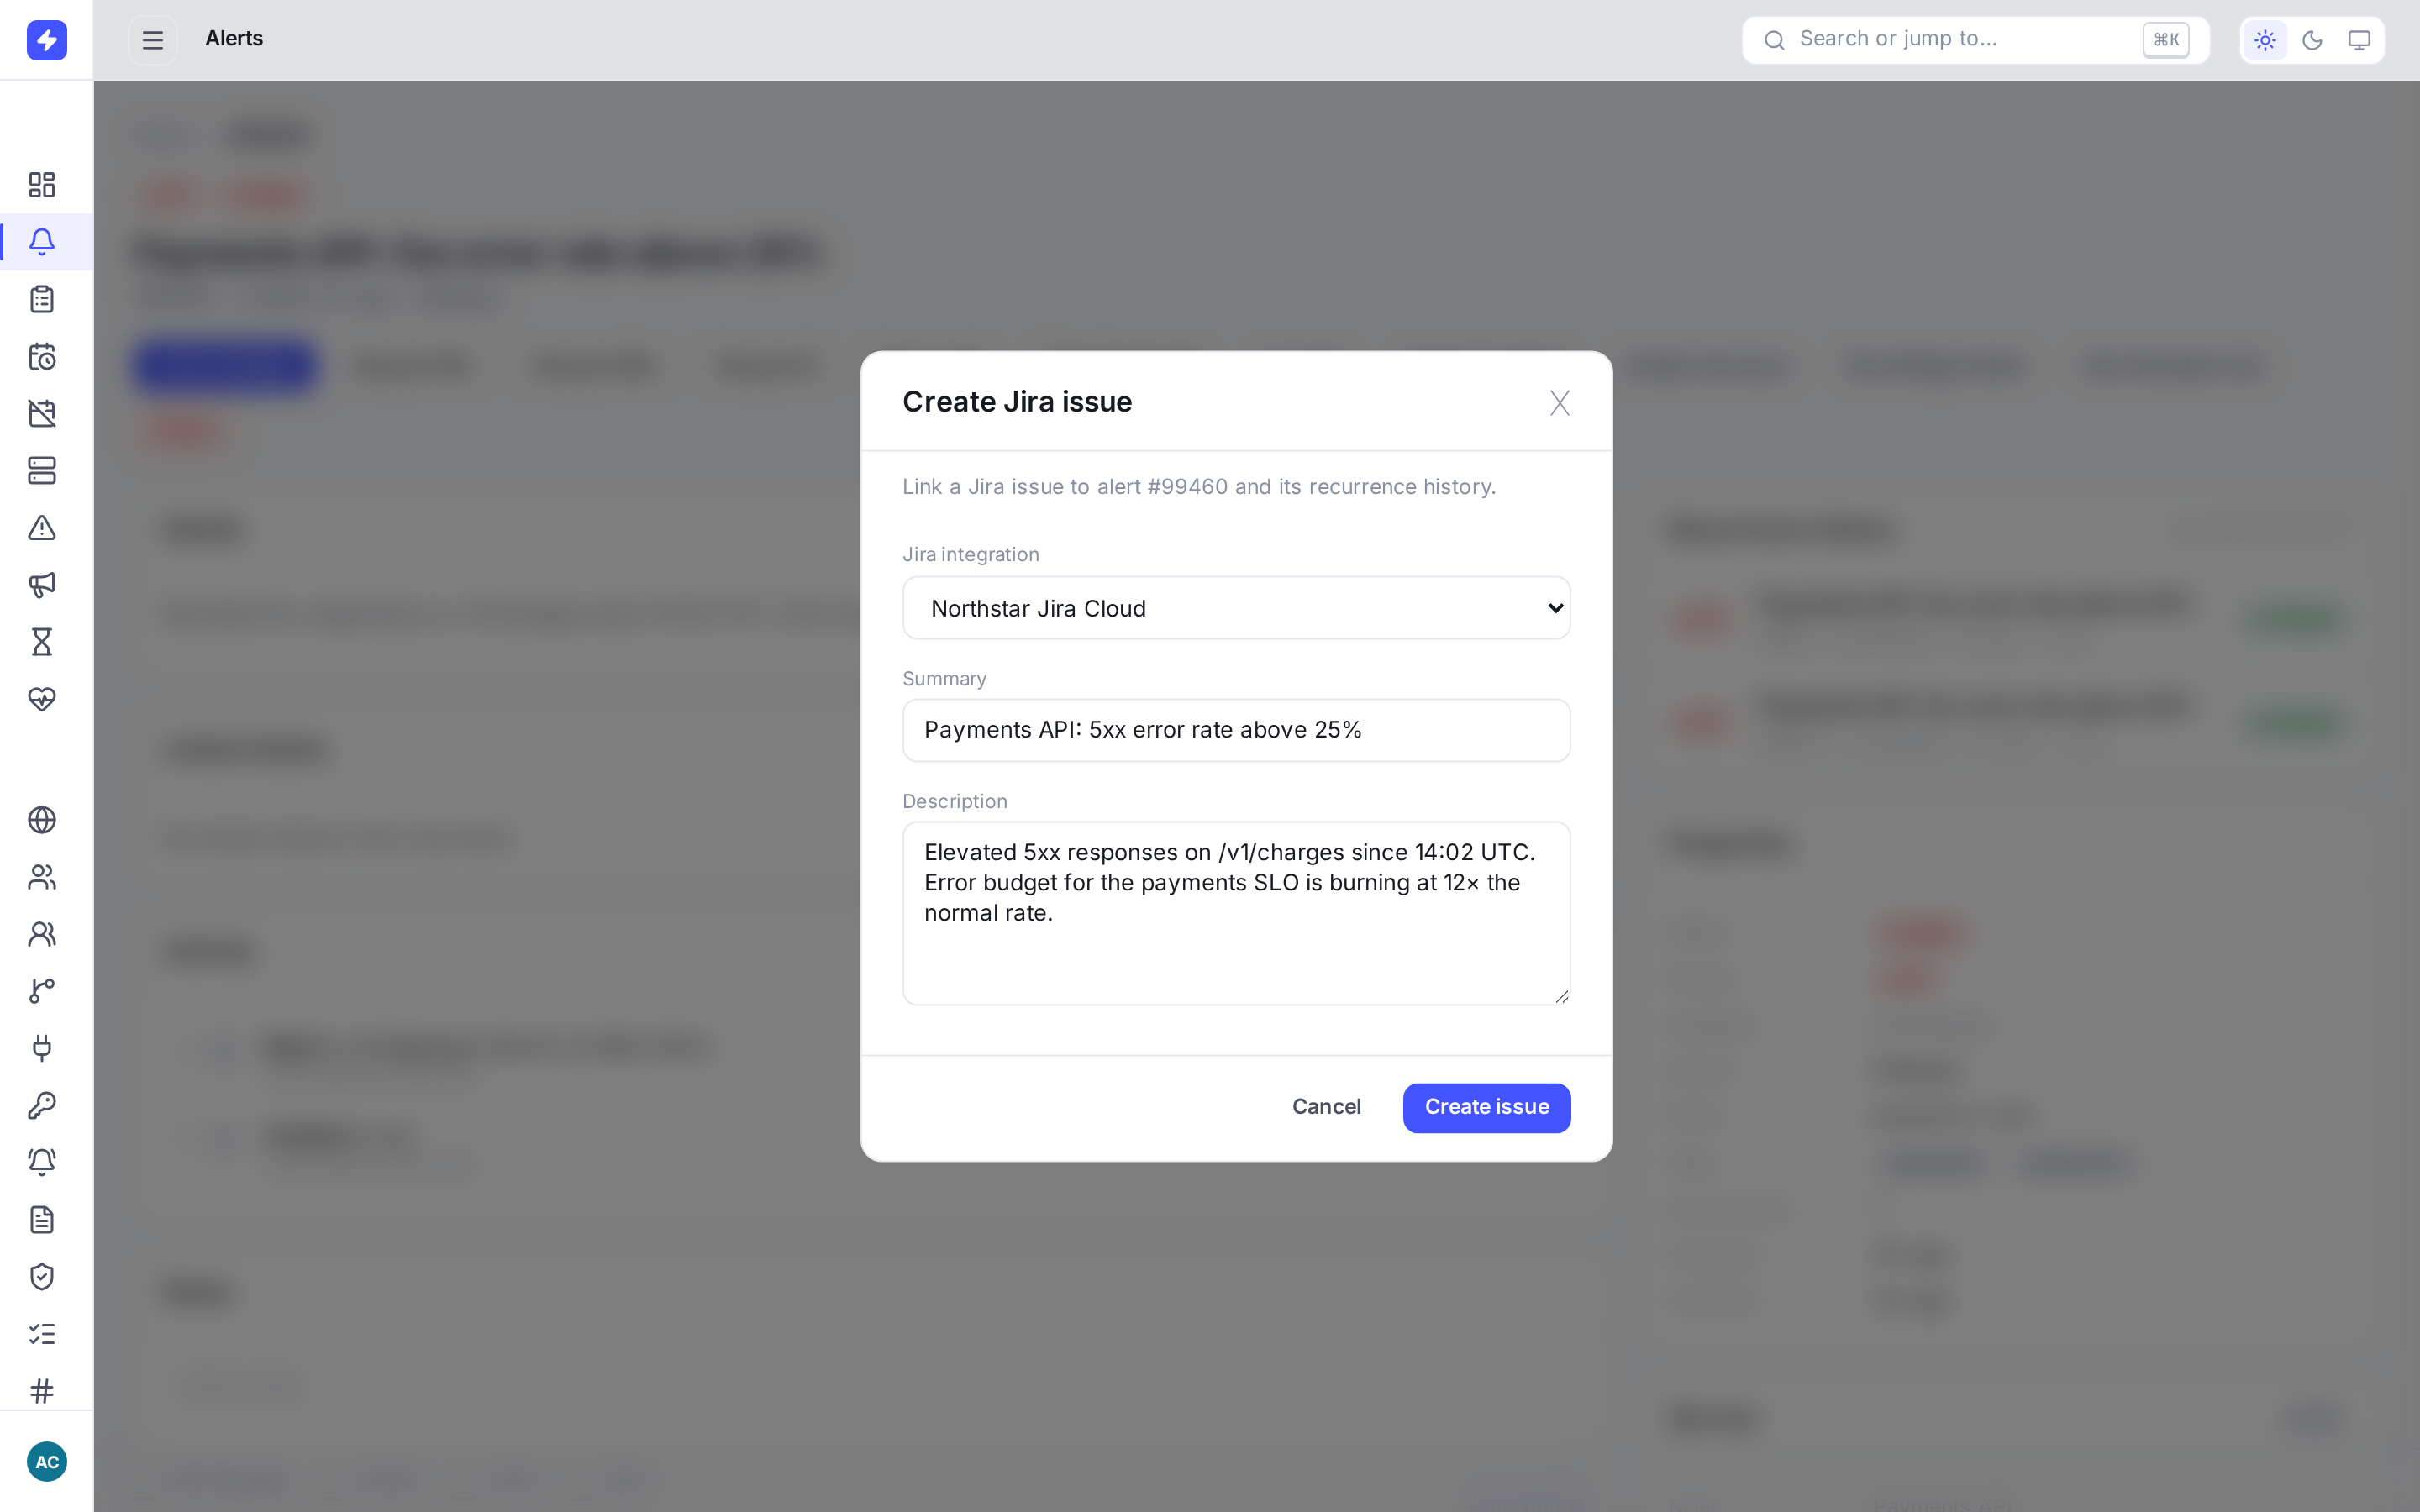
The Jira action starts from alert detail and pre-fills the issue from alert context. Configure the Jira Cloud URL, project key, issue type, account email, and API token under Integrations first. WarningSnooze is not close. A snoozed alert comes back — if you snooze a real problem four times in a row, you've lost two hours. Snooze noise; work or escalate everything else.
-
Use recurrence history instead of reopening old work
While an alert is open or acknowledged, another signal with the same stable recurrence identity updates that work item and its repeat count. After it is closed, the next matching signal creates a new alert linked to the earlier occurrences. Each occurrence keeps its own owner, notes, timeline, incident links, and lifecycle. The detail page shows the current occurrence number and links to the prior alerts.
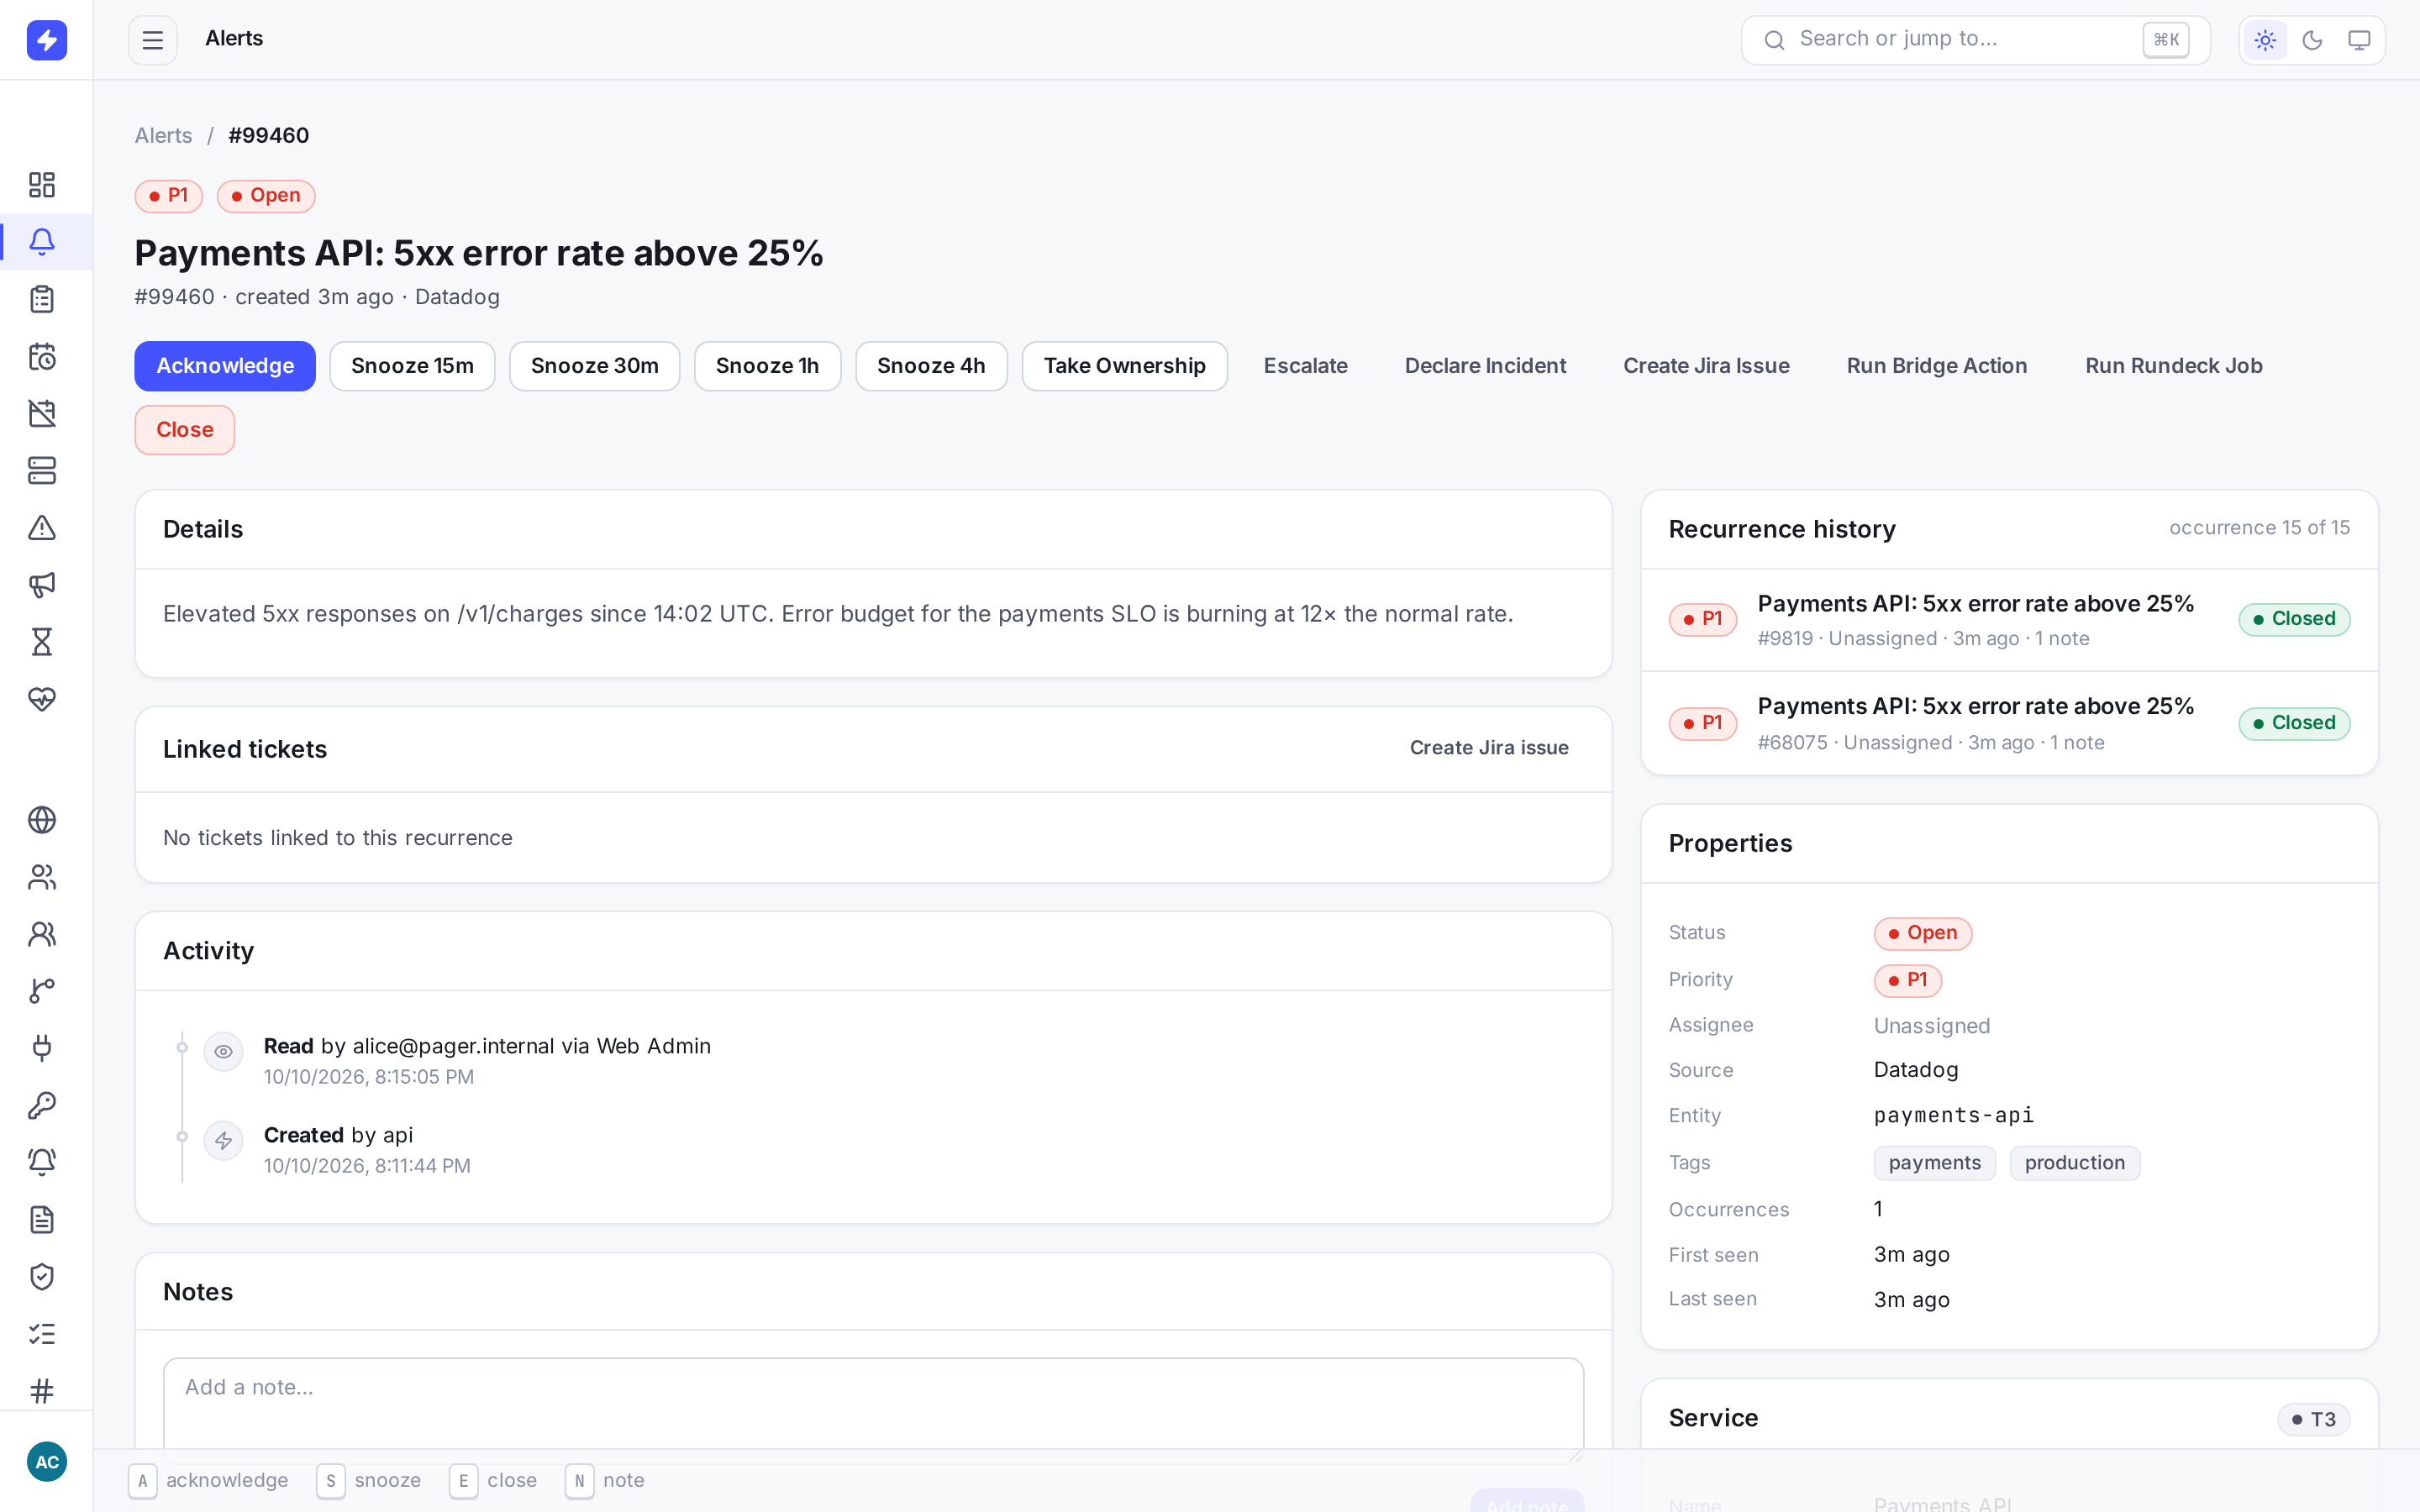
The admin console keeps the live alert actionable while prior occurrences remain one click away with their original status and ownership. 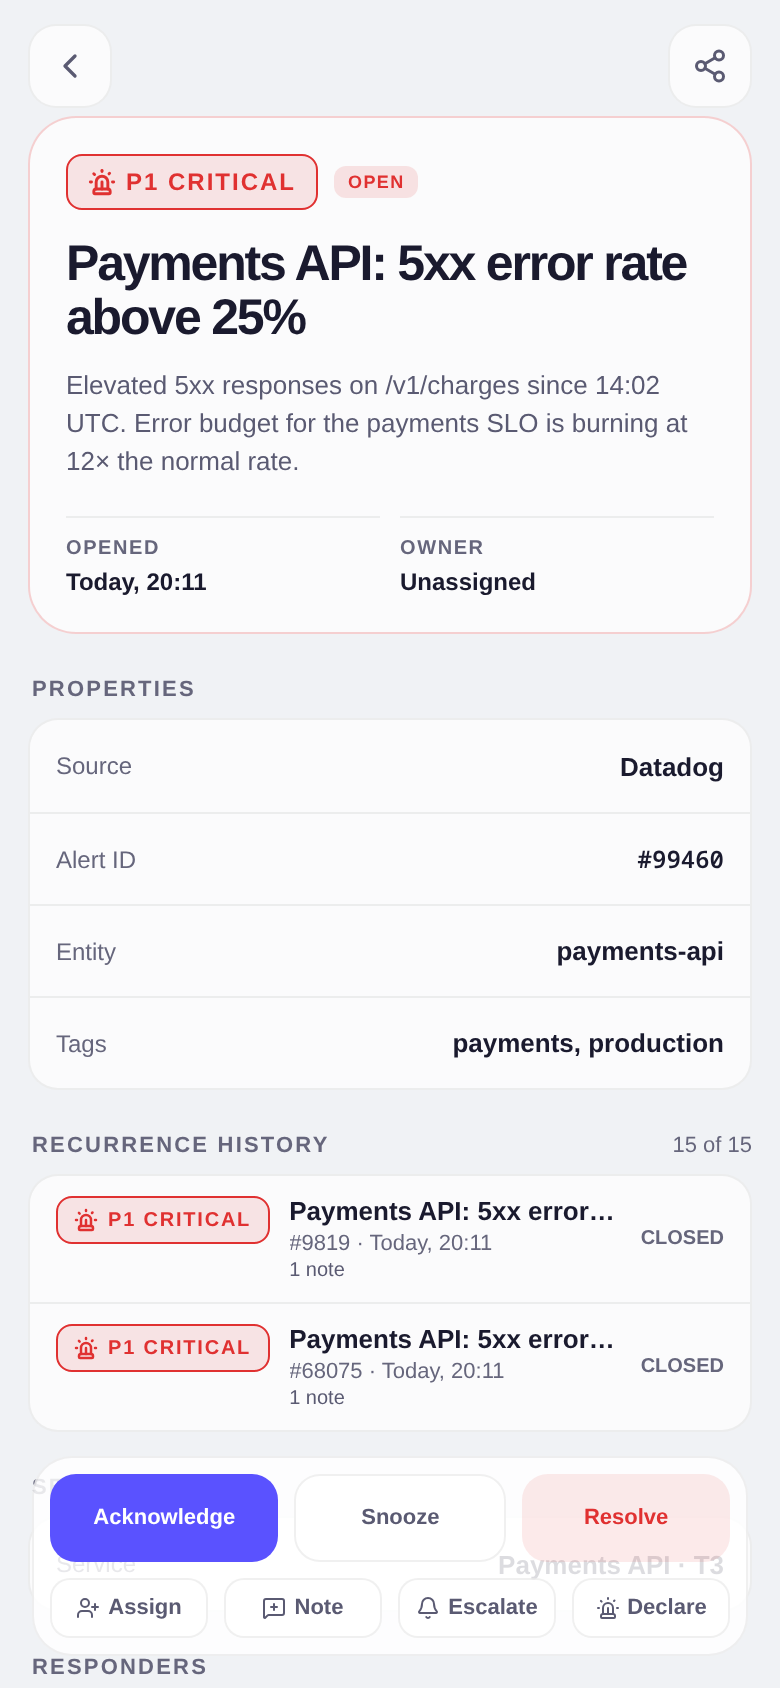
Mobile shows the same recurrence chain above the timeline. Tap a prior row to inspect its notes and activity. How matching worksExact source identities match automatically. If the source cannot provide one, OpsPing uses a deterministic signature from stable alert fields. Similar-looking alerts are never merged by fuzzy matching.
-
Escalate when it's over your head
The Escalate action on the detail page pushes the alert to the next level of its escalation policy immediately — you don't wait for the timeout. Use it when you've confirmed the problem is real and not yours. Declare incident, next to it, promotes the alert into a tracked incident with responders and a status timeline (covered in Incidents & services).
NoteEscalation targets come from the alert's escalation policy. If no policy is attached, manual escalation has nowhere to go — set policies up in Schedules & escalations.
-
Triage from your phone
On mobile, tap Refine for status, search, integration, priority, ownership, grouping, and sort controls. Swipe right to acknowledge an open alert, unacknowledge an acknowledged alert, or reopen a closed alert. Swipe left to snooze or unsnooze a nonclosed alert. Open detail for the full timeline and state-aware action dock; Resolve closes the alert.
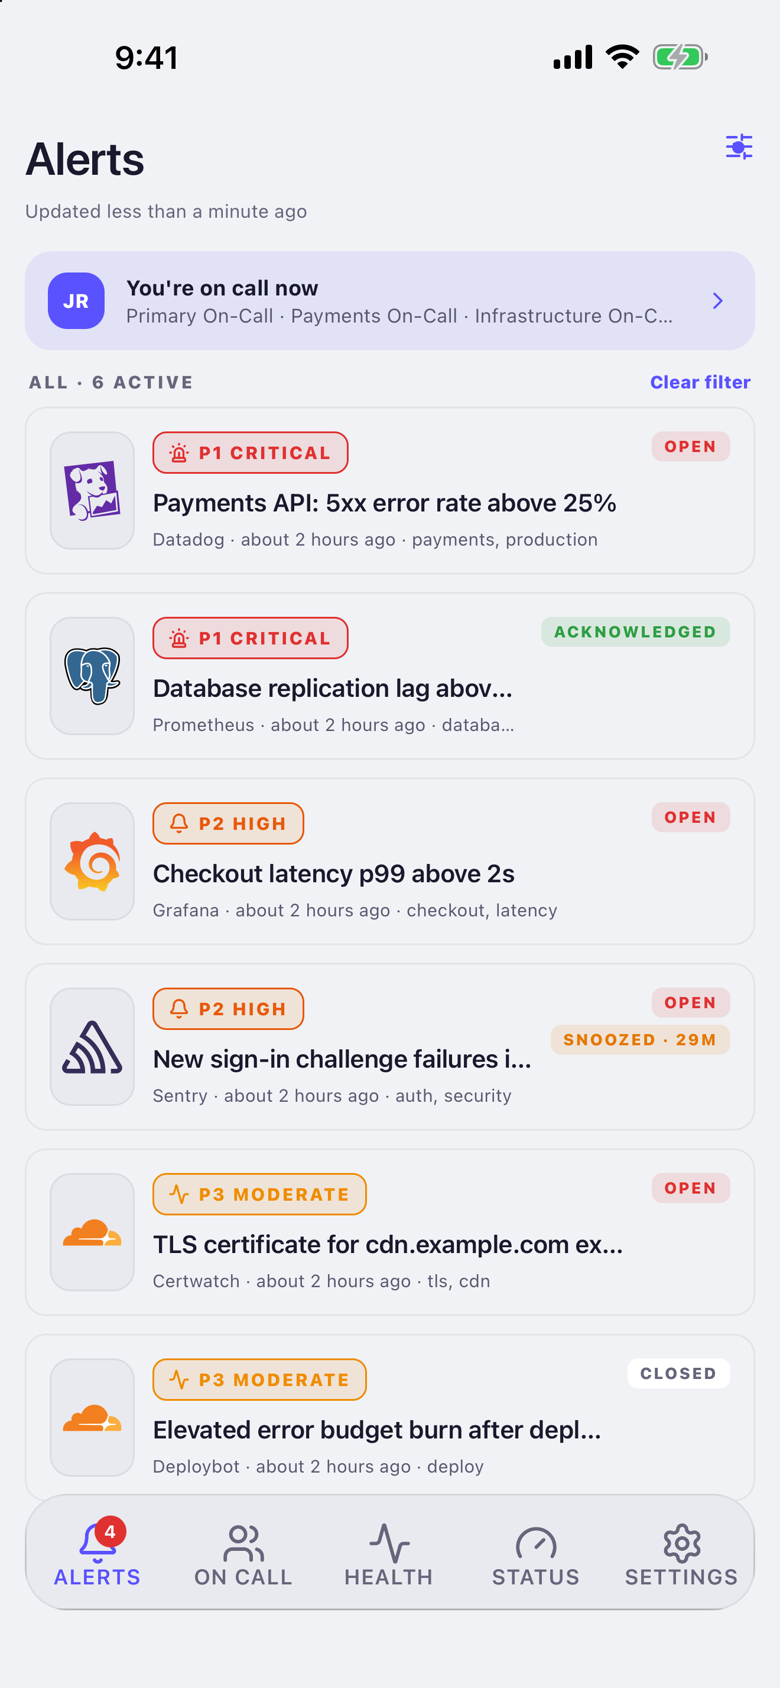
The Alerts tab keeps the queue compact; Refine opens filtering, search, grouping, and sorting without crowding each card. 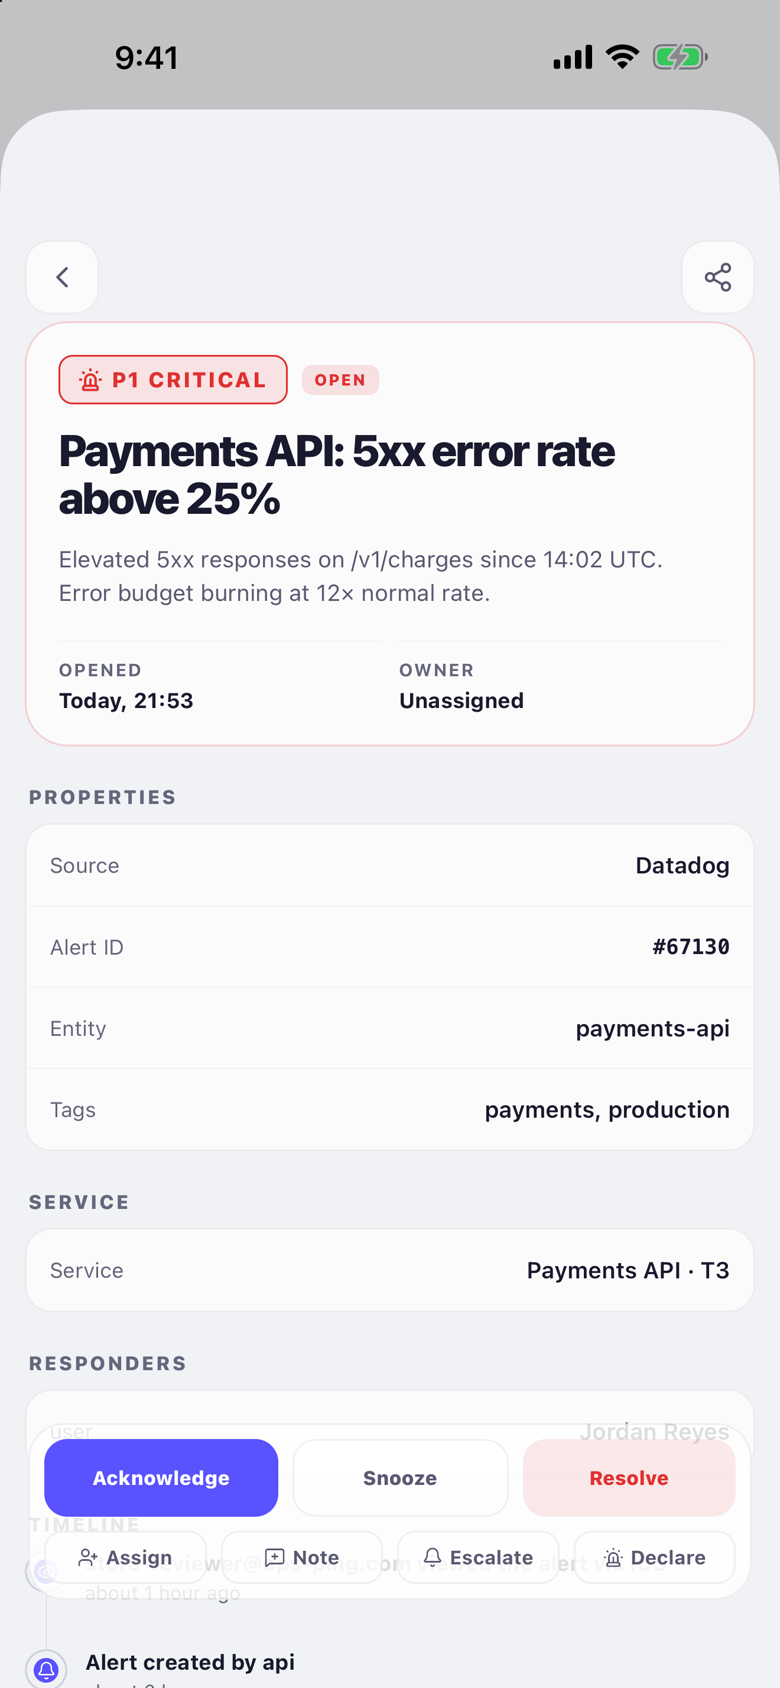
Alert detail keeps the complete timeline and exposes actions appropriate to the current state, including Resolve for closure. Acking from mobile is the most important action in the product: it's what stops the escalation chain at 3 a.m. Everything else can wait for a keyboard.
-
Read the timeline — it's your receipt
Every action on an alert — created, acknowledged, snoozed, noted, assigned, escalated, closed — lands in the activity timeline with the actor and a timestamp. That timeline is your audit trail and your read receipt in one: when you ack an alert, everyone else can see you did, and when someone else acks, you can stop worrying about it.
TipBefore you close an alert someone else acknowledged, read their notes in the timeline first. If they wrote "deploying fix," closing it under them loses the record that the fix worked.